What I Got Wrong With My First Raised Bed
I built my first raised bed six years ago with confidence and almost no understanding of what happens underground. I built a frame of untreated two-by-tens, set it directly on top of my clay soil, filled it with what the garden center sold me as "raised bed mix," and planted vegetables the same afternoon. I thought I had solved my clay problem.
By August, the bed was a disaster. Tomato roots had hit the native clay layer and stopped. Heavy rain in July saturated the bed, and because water could not drain through the compacted clay beneath, the bottom six inches of soil went anaerobic. The roots of my peppers and eggplants rotted. I pulled up a bell pepper plant in late August and the roots were brown, short, and smelled like a drained pond.
I had built a bathtub with wooden sides, not a garden bed.

The Interface Problem Nobody Mentions
Here is the truth that raised bed marketing skips: water does not move easily between two different soil textures. When you fill a raised bed with light, organic-rich potting mix and set it on top of heavy New England clay, you create a textural boundary. Water perches above that boundary the same way it pools above a clay lens in a streambank. Gravity pulls water through the loose mix, but the moment it hits the dense clay, drainage slows to a crawl.
This is called a perched water table, and it forms in any container — including a raised bed — when coarse material sits above fine material. The finer material acts as a barrier until the coarse layer above becomes fully saturated. Only then does water push through. In our wet New England springs, "fully saturated" happens fast and stays for weeks. Roots in the lower half of the bed sit in waterlogged soil. They suffocate, rot, or both.
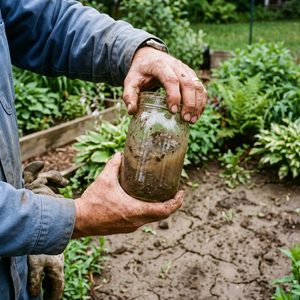
I have dug out failed raised beds for clients and found exactly this: a dark, crumbly top layer, then a foul-smelling, greyish muck at the bottom, then solid clay beneath. The roots never made it past the muck.
The Fix: Connect to the Native Soil
The solution is not a liner. The solution is to break the textural boundary by mixing the imported soil with the native clay at the interface.
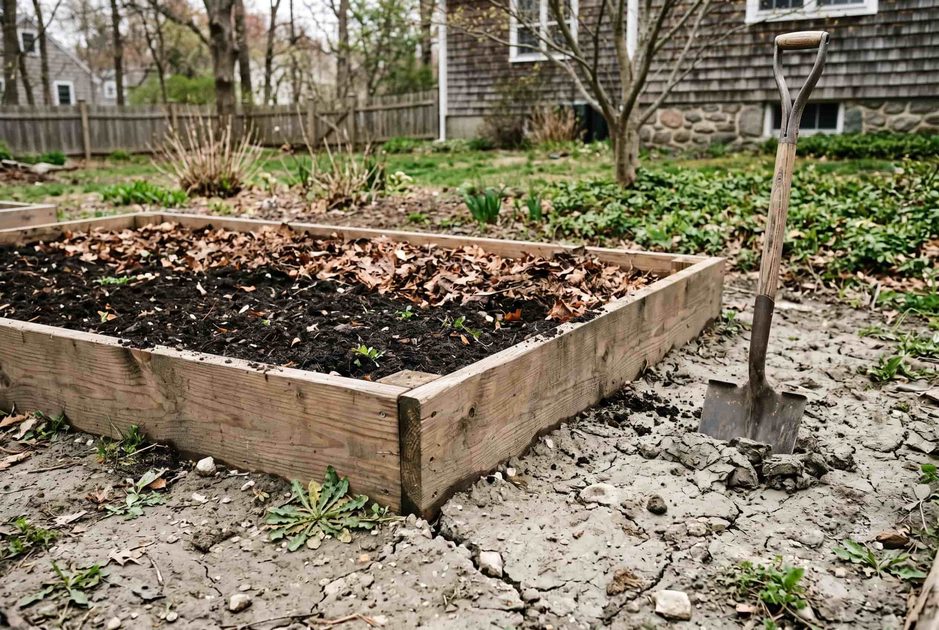
When I build a raised bed now, I mark the footprint, then dig out the top four to six inches of native soil within the bed area. I loosen the next six inches with a garden fork — not turning it over, just cracking it to create drainage channels. Then I spread a two-inch layer of compost over the loosened clay and fork it in lightly. This creates a transition zone between the clay and the bed mix above.
The bed frame goes on after this prep, not before. I use untreated hemlock or cedar, two inches thick, and I keep the height reasonable — ten to twelve inches is enough for most vegetables. Deeper is not always better. A bed that is two feet deep costs more to fill, dries out faster at the surface, and still drains poorly if you ignore the interface.

What to Fill It With
Do not buy anything labeled "raised bed mix" without reading the ingredient list. I have seen mixes sold at local garden centers that are mostly shredded bark fines and peat moss. These break down fast, compact within a season, and cost too much for what they deliver.
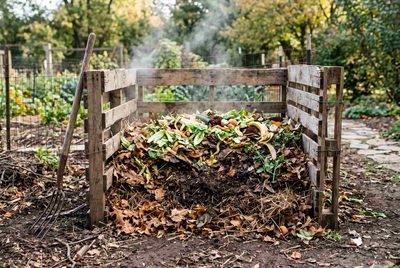
My mix is simple. Forty percent screened topsoil — not bagged "garden soil," but actual mineral topsoil from a local landscape supply yard. Thirty percent compost — my own if I have enough, or a blend of leaf compost and aged manure if I don't. Twenty percent coarse builder's sand, not play sand. Ten percent perlite for aeration. I mix it in a wheelbarrow or on a tarp, not in the bed. I fill the bed in layers, watering each layer lightly to settle it without compacting.
This mix drains well, holds nutrients, and its texture is close enough to my native clay that the transition zone does the work it is meant to do. Roots move through it and into the loosened clay below. That is the goal — not to contain roots in the bed, but to give them a path deeper.
Do You Need a Raised Bed At All
Not always. I have grown productive vegetables directly in my clay soil after three years of consistent amendment with compost and shredded leaves. Raised beds are useful — they warm faster in spring, they define paths, they reduce bending — but they are not mandatory. If your soil is workable and you amend it each season, you can grow in the ground.
Where raised beds earn their place is on truly compacted urban lots, on sites with lead contamination that requires imported soil, or for gardeners with mobility issues who need the height. If none of those apply, try amending your native soil for a season before you build. You might save yourself the cost of lumber and the trouble of a bathtub.
I still use raised beds because my lot is small, my clay is thick, and the frames help me organize a tight space. But every bed I build now includes the transition zone, and none are lined. The worms move freely between the bed and the soil below, which is exactly what I want. A raised bed is not a container. It is an extension of the ground, elevated for convenience. Treat it that way, and your roots will thank you.
Letters
No letters yet — be the first to write.